Koha How-To
Making your screen-shots stand out when submitting tickets to ByWater
 by Barton Chittenden on Jan 29, 2018
In this Koha tutorial we will show you how to create screen-shots and make it stand out when submitting tickets to ByWater Solutions.
Creating Screenshots
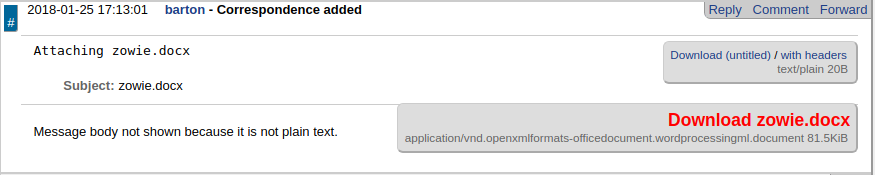
Which stands out more:
This:
or this?
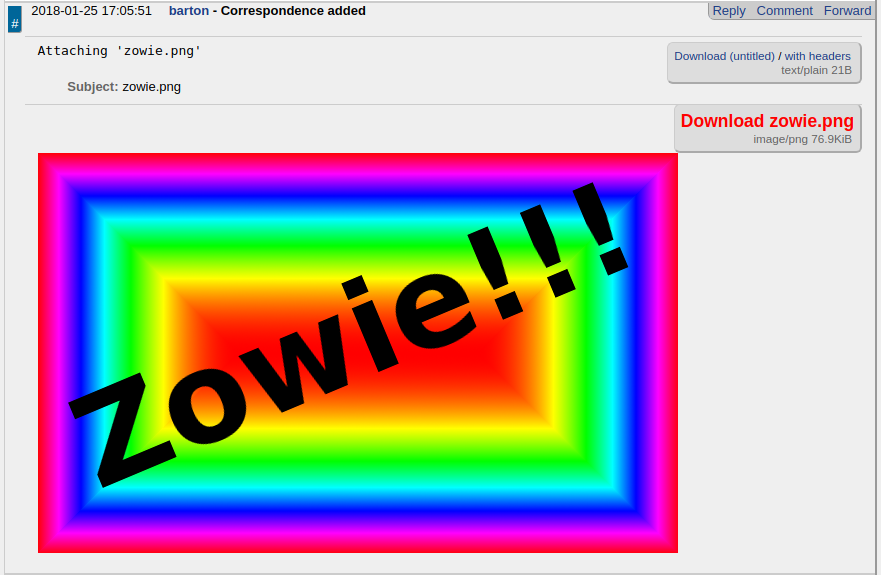
The first image is what a Microsoft Word document looks like when it’s attached in ByWater’s ticketing system. We can download the attachment and open the link… but the second shows the same image, attached as an image file (both .jpeg and .png will display). I’m sure you’ll agree that the image file is easier to see in the ticket.
Here are Instructions for creating screen-shots in Windows, and On OSX. There are also web browser based screen-shot plugins for Firefox and Chrome
The important part is that the screen-shot should be saved as an image, because you can’t paste images directly into the request tracker.
The screen shot will probably be saved to your desktop or to your Downloads, Documents or Images folder.
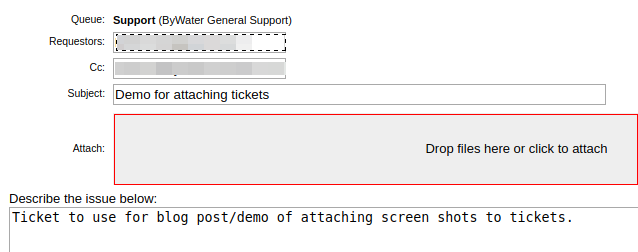
Once downloaded, you can attach the image to the ticket by dragging the image into the drag and drop area:
This will make your trouble ticket much more readable; the faster we can look at your screenshots, the faster we can fix your problem!
View other Koha tutorials on the ByWater Solutions’ Blog or subscribe to our YouTube Channel for the latest Koha tutorial videos.
Read more by Barton Chittenden